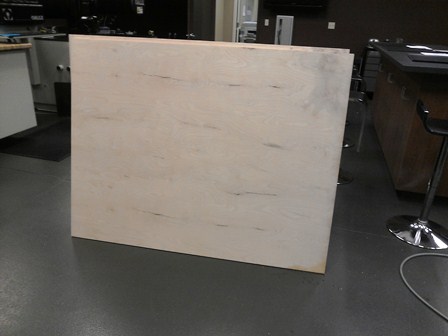
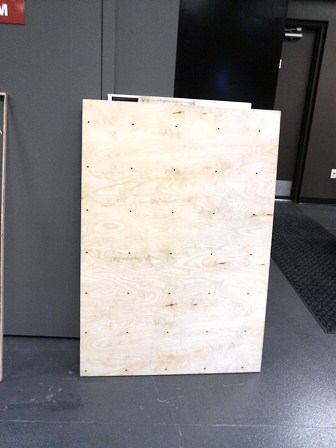
 Now that I had the layout, the next step was to cut and drill the plywood.
While there are many techniques for doing this, I ended up getting help from a friend who has access to water jet cutters to do this.
My friend, Carl, wrote the user software for the waterjet cutters his company produces. So, one email to him with an explanation of what I was trying to do was all it took to take care of the cutting the plywood sheets.
Normally, Carl’s customers cut metal but a few do cut wood and so he had the parameters for cutting wood. He didn’t have the exact parameters for 0.75″ thick plywood, so he used the settings for Oak. We did a few trial cuts and the settings were fine.
We cut a series of holes of different diameters and picked the diameter that provided a nice tight fit for the peg. We also verified the peg center to center distance. In hindsight, that wasn’t necessary because the machine has an accuracy of 0.002″.
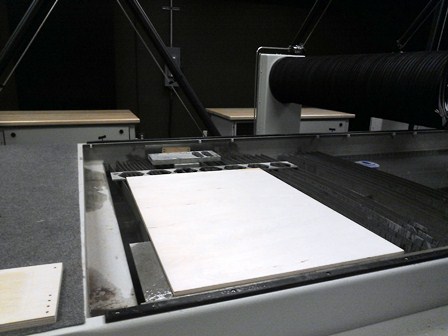
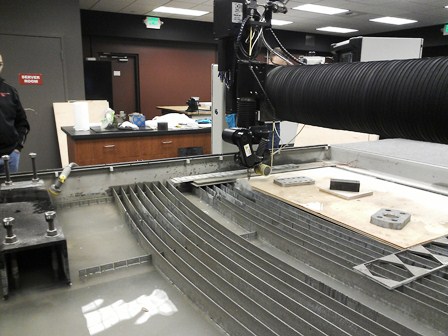
The machine that Carl reserved has a bed that is 160″ by 80″ but unfortunately, it had an accessory installed that took up enough space that we had to cut the 8ft x 4ft sheet into two sections.
There was some concern about water causing the wood to swell but once the wood dried out, it appears to not have been affected by the water jet cutting process.
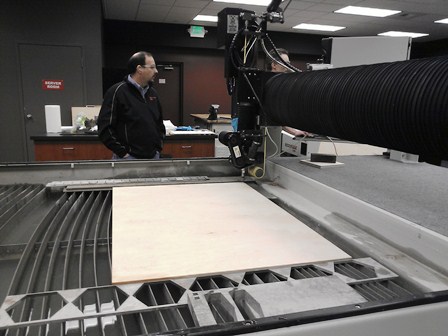
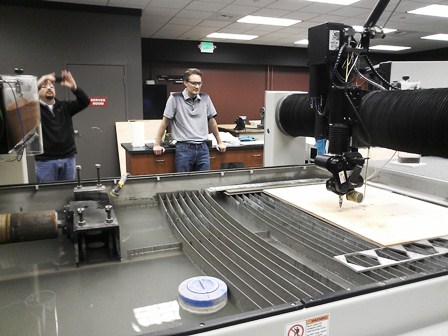
There are pictures below of us (Carl, Leo and me) going through the process of cutting a panel. Incidentally, Leo machined all the parts for Zeetah II back in the late 80’s!