An essential part of setting up a new mouse is the proper alignment of the sensors. You micromouse sensors must have the emitters pointing exactly where you want them to and the detectors have to be aligned to get the best possible response. A simple paper target and an Infra Red camera can help get this right.
The first step is to decide where you want the sensors to point. This is just a choice but wherever it is, you should probably draw out a section of maze. Add in the outline of the mouse board and mark the position of the sensors and their sight line. I mark this out on an old piece of kitchen cutting board so that I can drill holes and fix the mouse down securely.
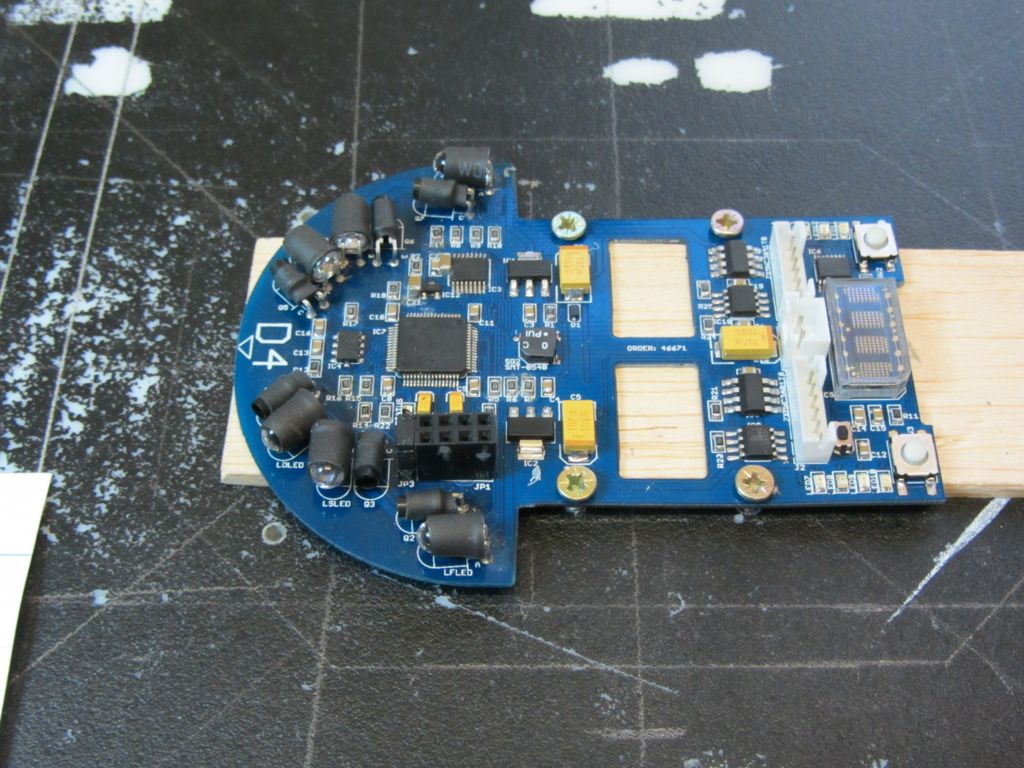
The mounting board is a bit tatty but you can just make out the lines showing where I want the sensors pointed. A piece of balsa under the mouse helps even out the pressure and puts the board off the ground by an amount similar to the wheel height.
Alignment target for micromouse sensors
Next, you need a target for the alignment. The simplest way I could think of to do this was to print a target on a piece of paper. The target is just a white circle on a black background, printed with a laser printer. The laser toner s quite good at absorbing infra red. The white spot is about the same size as the expected sensor illumination spot. Dont make it any bigger. Now, with the sensor pointing exactly at the spot, there should be the maximum amount of reflected light. With the emitter off centre in any direction, the amount of reflected light will be reduced.
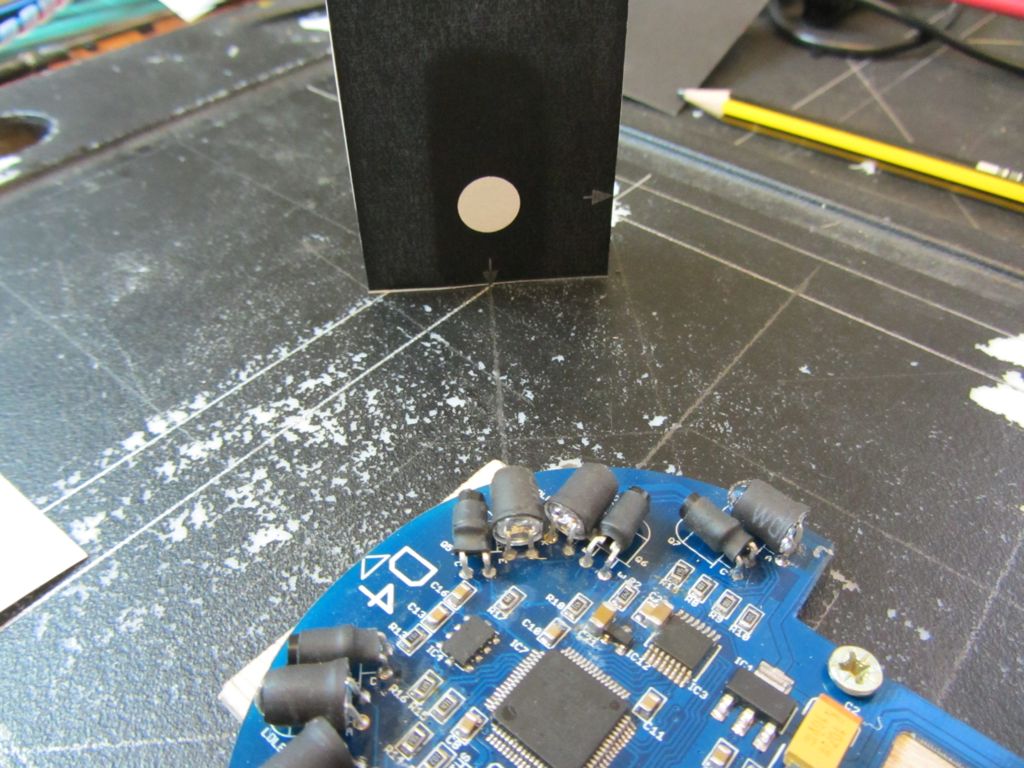
I just fix the paper template to a small block of wood with double sided tape so that I can stand it wherever I like. On this target, the spot is set at about 20mm above the floor. I think it best if the sensors point upwards a little to help reduce the effect of specular reflections from shiny walls.
Adjust your micromouse sensors for a peak reading
Now you can set up your mouse so that it sends continuous sensor readings back to a PC, or onto a built-in display. With the target in the right place, the emitter can be moved about until a peak is seen in the response. Don’t worry too much about the detector just now. Get the emitter right first. Do a double check after you think you have it right by moving the target about. Any movement of the target should see a drop in the sensor reading.
If you have a camera that can see the Infra Red from the sensor, this is interesting to watch but not essential to the process. Many cheap USB webcams can be adapted to see infra Red just by removing a filter inside the camera. See the links at the bottom of this post for some examples. The video below shows the process of adjusting the sensors. Note that I have very bright emitters and the camera I used has no way to adjust the gain so it is all a bit washed out.
Once you are happy that the emitter is correctly aligned, you need to work on the detector. This is a bit difficult because it depends upon the detector you use. If you have a device with a very narrow acceptance angle, coupled with a narrow-beam emitter, it will be difficult to get a good setting at all distances. That can happen if the detector cannot properly see the spot when the wall is close. I set up the detector to get a peak response with the target at the normal working distance and then check that there are no problems as the target moves closer. Sometimes, you may need to go for a peak at some closer distance.
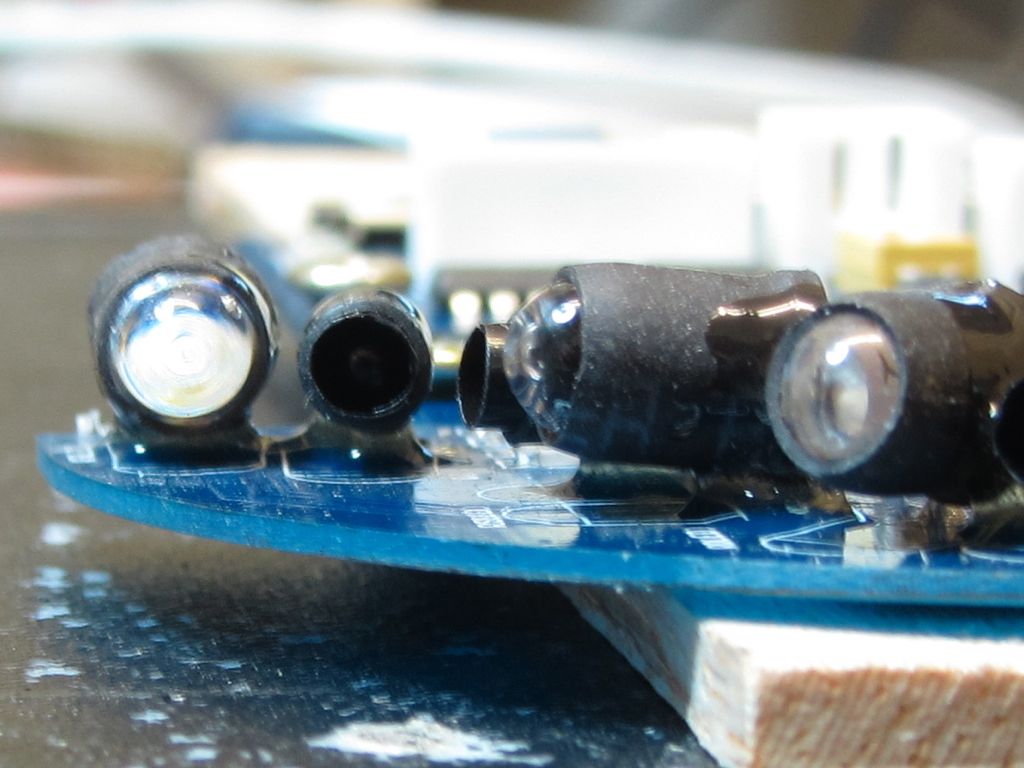
Fix the sensors in place
With everything carefully aligned, you really don’t want the micromouse sensors to move about. To make it easy to adjust the sensors, they start off a millimetre or so above the board but they cannot remain like that or all the work of alignment will be wasted the first time the mouse gets knocked. Since I don’t have nice sensor holders, I have to glue mine down. I use epoxy glue for this. Others may use hot glue. The epoxy has two great advantages. First, it is easy to apply without disturbing the sensors. Second, if you use slow curing epoxy, it will flow into place and make a perfect mount. Fast curing epoxy cannot do this so I would not recommend it. Just apply the glue over the top of the sensors and it should flow down onto the board to make nice support fillets. The first picture shows the epoxy just after application. The second picture is taken a few hours later, after the epoxy has flowed.

Try to use as little epoxy as possible. It is heavy stuff and can flow into places you don’t want it to be. The disadvantage of epoxy is that it is pretty well permanent. Reworking the sensors if you have got it wrong, or a device fails is not much fun.
A couple of IR conversion links. The second one seems to have the same content on several sites.
Congratulation! good explanation, you finally have your 2 side sensors soldered. I agree aligning is a painful process.
I like this article, thanks.